
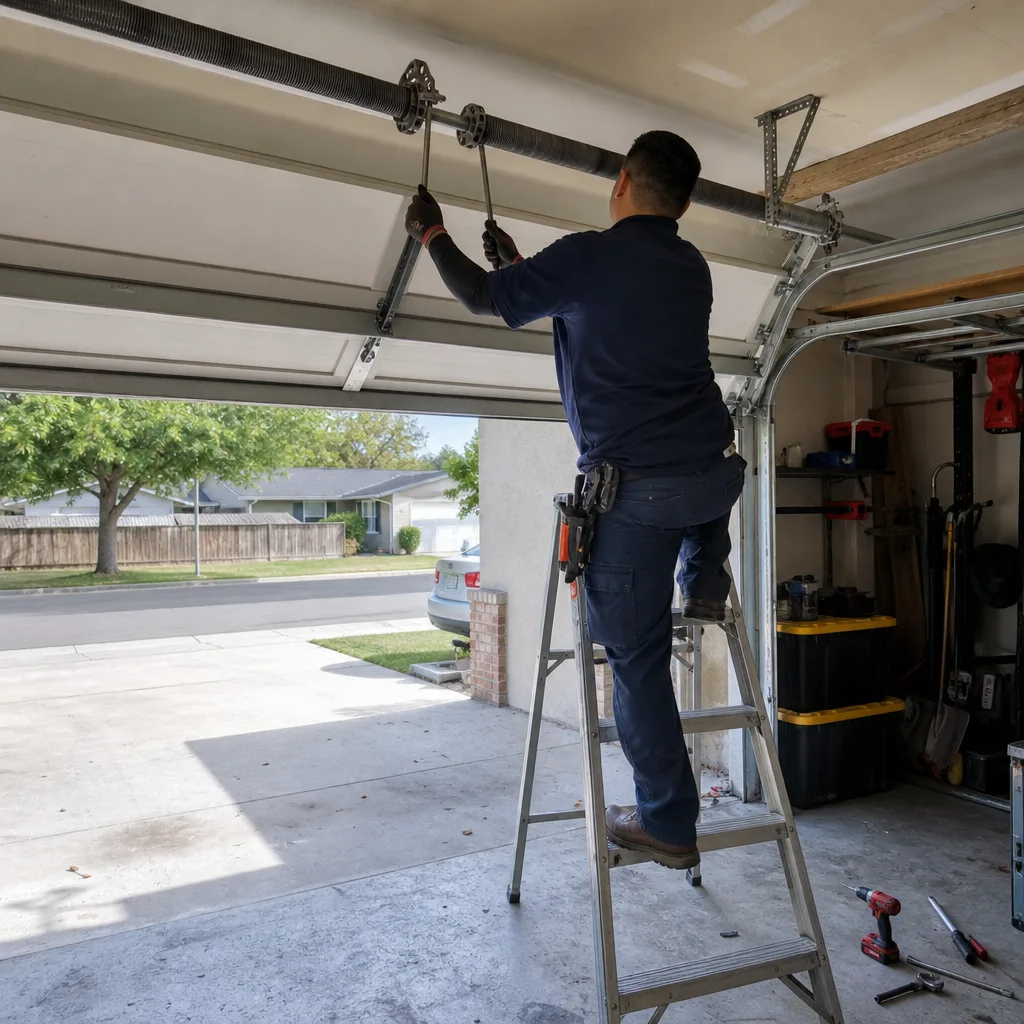
Last updated November 16, 2026
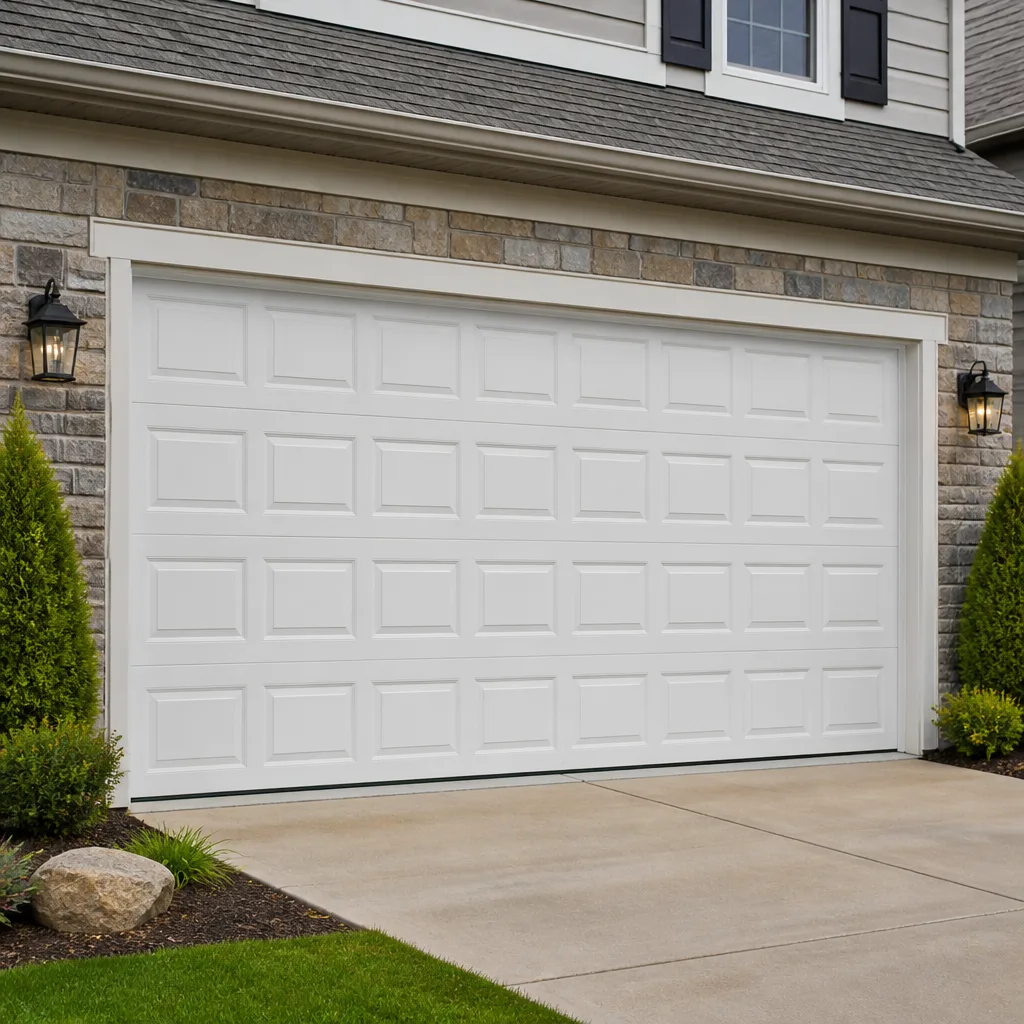 Raised-panel steel
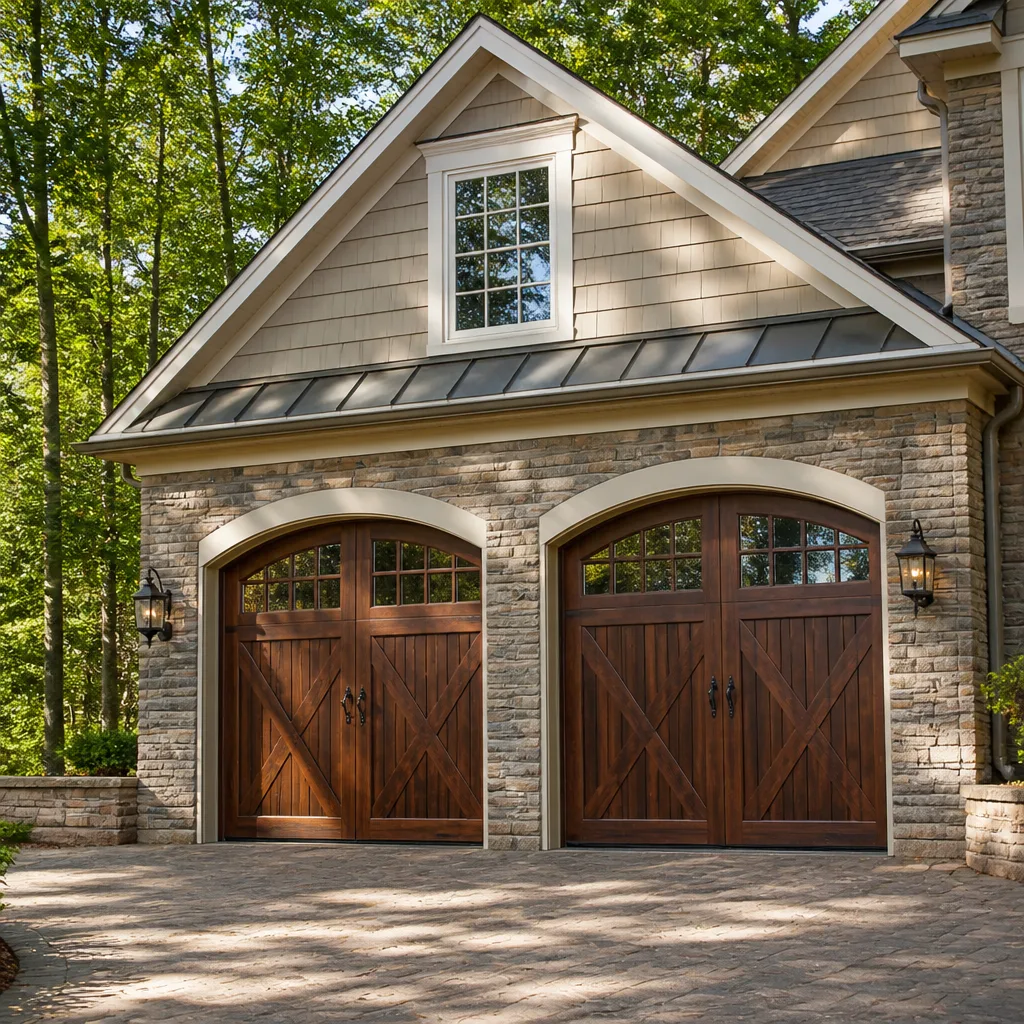 Carriage house
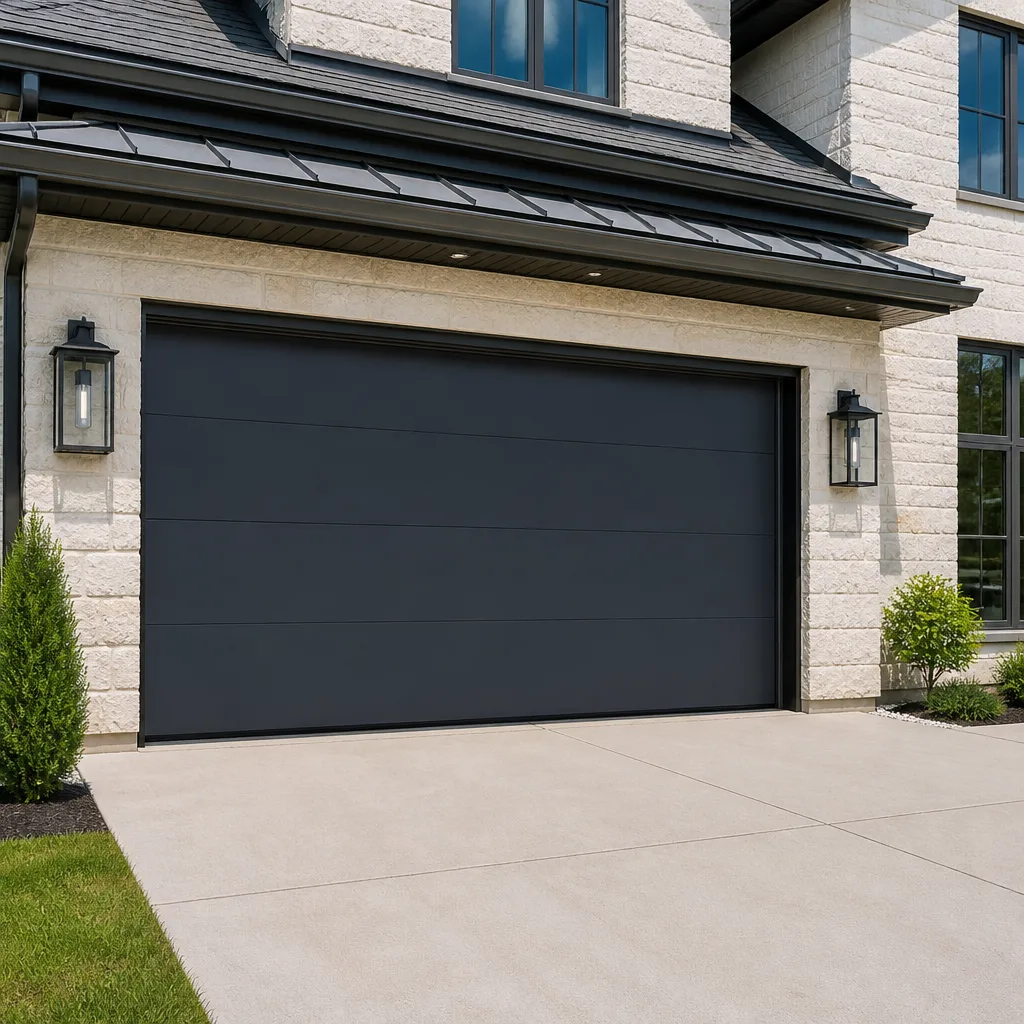 Modern flush
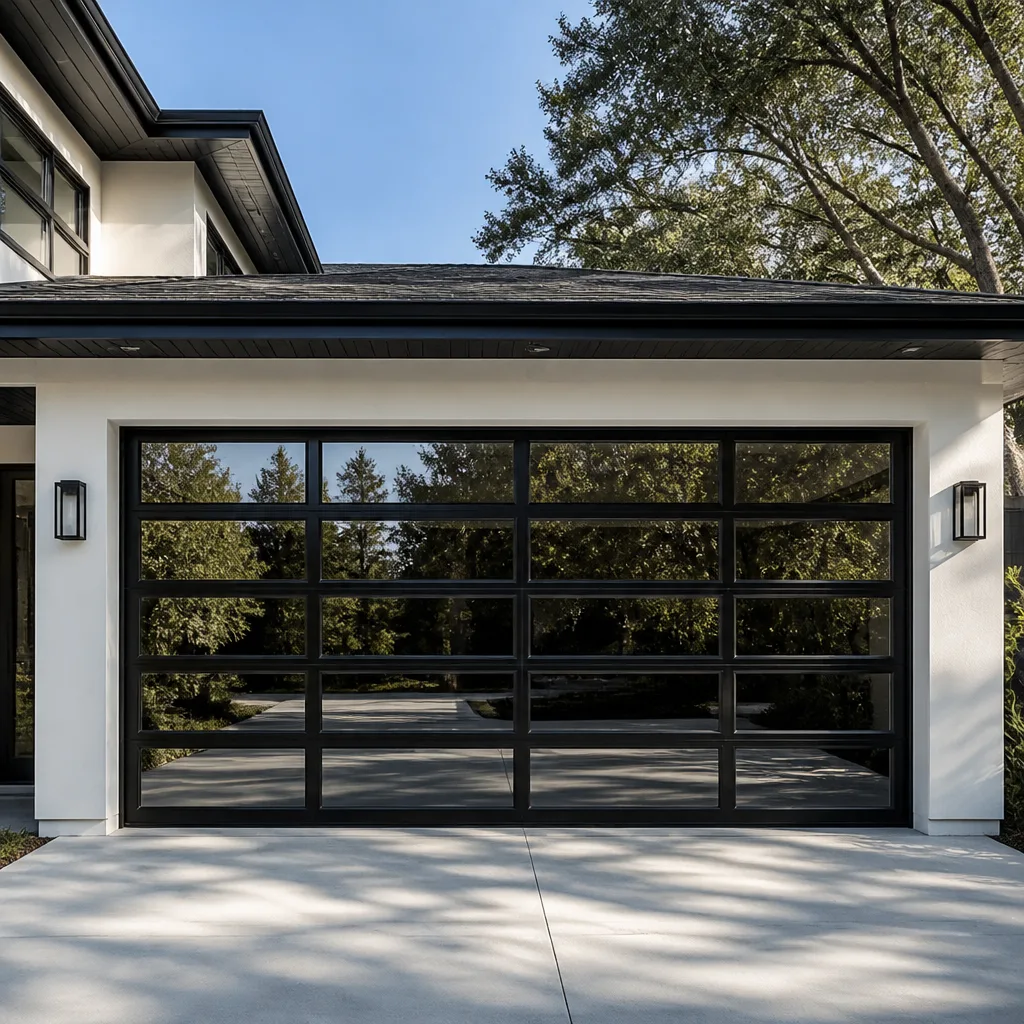 Full-view glass
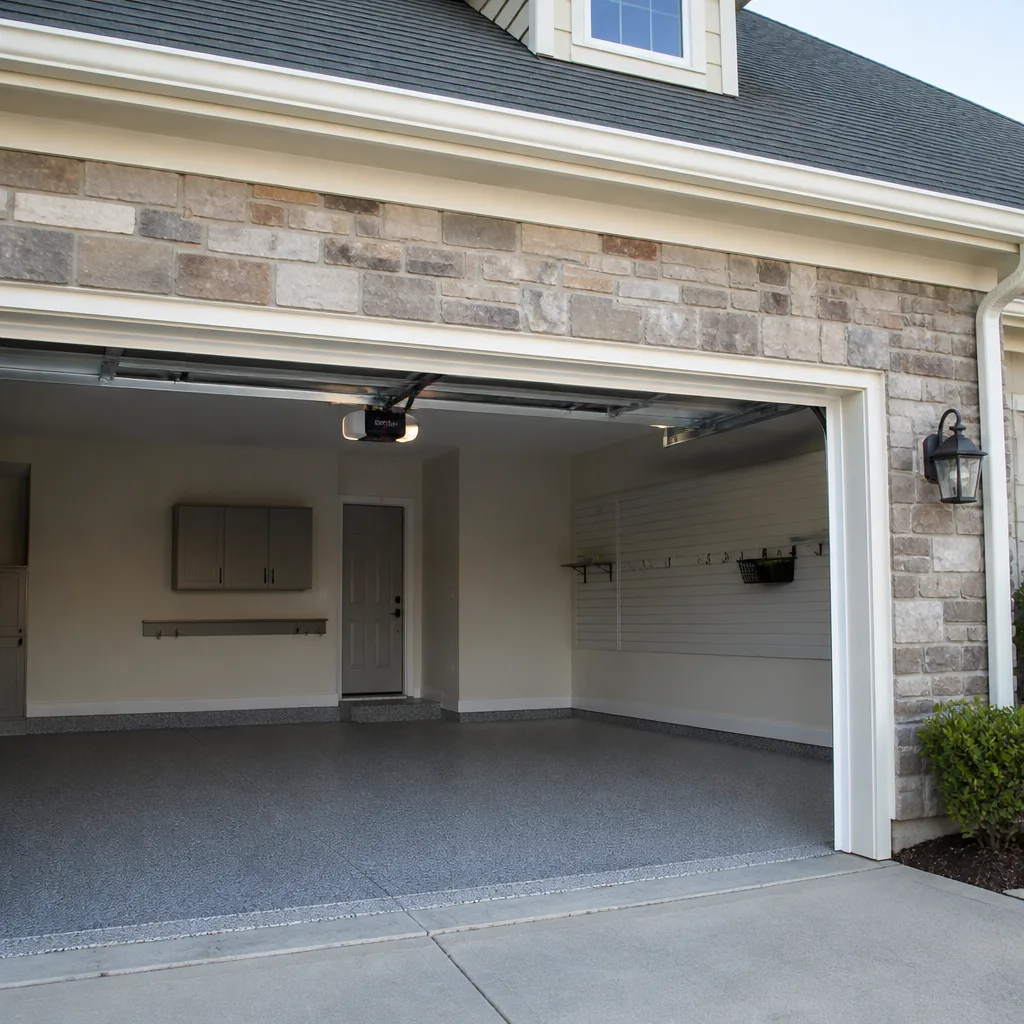 LiftMaster openers
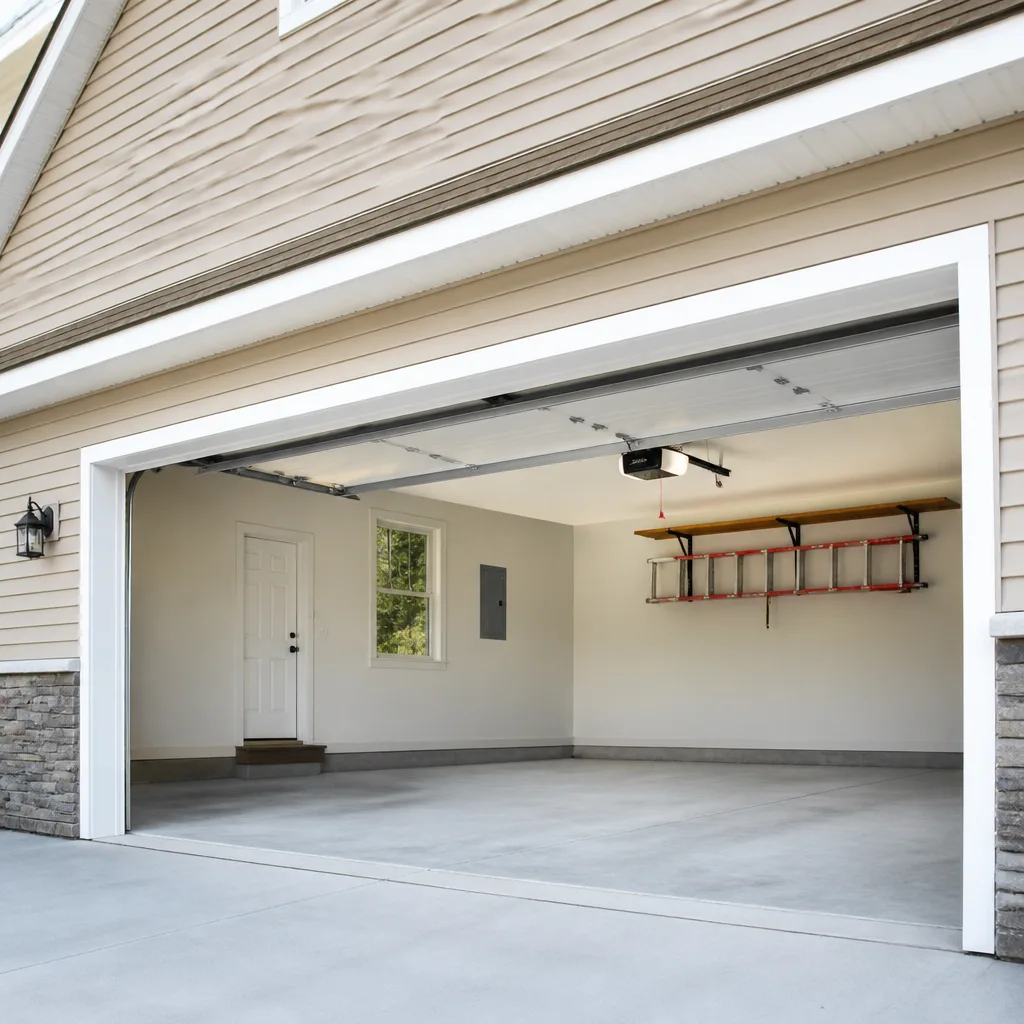 Chamberlain openers
Full 25-point door and opener safety check with every visit - springs, cables, rollers, tracks, and your LiftMaster or Chamberlain opener included
You get a price before we start. It does not change when the pro arrives.
Get your free estimateGarage Door Repair Troubleshooting in Vacaville: Common Problems and How to Fix Them
A door that reverses before it touches the ground and a door that won’t move at all look like two different failures. In our experience, Vacaville homeowners treat them as the same problem – a bad safety sensor – and start swapping parts before they’ve confirmed what’s actually wrong. That misdiagnosis is the single most expensive habit we see. This guide is built the other way around: start with the symptom you’re watching, trace it to the mechanical cause, and only then decide whether it’s something you should touch or something a technician needs to handle. You’ll learn how Vacaville’s summer heat stresses the parts that fail most, how to read your opener’s blink codes before opening a tool bag, and where the line sits between a safe adjustment and a job that can hurt you.
Quick Answer
Most garage door problems in Vacaville trace back to one of five root causes: a misaligned or dirty photo-eye, a torsion spring that’s lost tension from heat cycling, a remote or wall control with a signal or battery fault, worn rollers and hinges causing grinding, or a track that’s out of plumb. Match the symptom to the cause before you replace anything. Anything involving spring tension, cables, or track realignment belongs with a trained technician – those parts store serious force and fail without warning.
Styles & brands we work with
- Raised-panel steel
- Carriage house
- Modern flush
- Full-view glass
- LiftMaster openers
- Chamberlain openers
Table of Contents
- The Symptom-First Diagnostic Tree
- How Vacaville Heat Cycles Stress Your Springs and Lubricant
- What You Can Safely Adjust vs. What Needs a Technician
- Reading Your Opener’s Blink Codes Before You Touch Anything
- When a “Working” Door Is Actually Failing
- Grinding, Squeaking, and What Each Sound Tells You
- Remote and Wall Control Problems
- Repair or Replace? How to Decide
The Symptom-First Diagnostic Tree
Diagnosis starts with behavior, not with parts. A door that reverses mid-close is telling you something different than a door that opens crooked, and treating them as one problem is where money gets wasted. Here’s how we map the four most common symptoms to their real causes.
Reverses before closing all the way. Nine times out of ten this is the photo-eye system, not the motor. The two sensors at the bottom of the tracks need a clear line of sight to each other. Dust, cobwebs, a leaf, or a sensor knocked slightly out of aim will break that beam and send the door back up. The fix is usually cleaning the lens and nudging the sensor back into alignment – no tools beyond a screwdriver. If the eyes are clean and aimed and the door still reverses, then you’re looking at a logic board or wiring fault.
Won’t respond at all. Before you assume the opener is dead, check the obvious: is the wall outlet the opener plugs into working, and is the manual release engaged? A door that was released during a power blip will sit there ignoring every remote command because the trolley is disconnected from the carriage. Re-engaging the release is a homeowner job. A completely silent opener with power at the outlet is a different story.
Opens crooked. One side lagging behind the other points to uneven cable tension, a stretched spring on one side of a two-spring setup, or a track that’s been knocked out of plumb. This is not a sensor issue and it’s not a remote issue. Crooked travel is a mechanical problem and it tends to get worse, not better.
Loud grinding or squealing. Grinding usually means worn rollers or dry hinges. Squealing tends to be metal-on-metal at the hinges or the torsion tube. Both are lubrication and wear issues, and both are cheap to address early – which is exactly why ignoring them gets expensive.
If you can name the symptom precisely, you’ve already narrowed the job. When you’d rather have a trained eye confirm it, our garage door repair service starts with diagnosis, not with a parts list.
How Vacaville Heat Cycles Stress Your Springs and Lubricant
Vacaville summers are hot enough that your garage becomes an oven by mid-afternoon, and that daily temperature swing does real work on your door’s components. A torsion spring is a coiled steel part under constant load. Every time the garage heats up and cools back down, the metal expands and contracts slightly. Over a season, that cycling adds fatigue on top of the normal wear from opening and closing the door. Springs are rated in cycles, not years, and a door in a hot inland climate accumulates those cycles with a little extra stress on the metal.
What we notice in Vacaville specifically is that springs tend to break at the coil rather than at the end, and they often go during a temperature shift – early morning after a hot day. That’s not bad luck. It’s the metal contracting after expanding.
Lubricant is the other casualty. The grease manufacturers apply to hinges, rollers, and the torsion tube is formulated with a working temperature range in mind, and a garage that bakes at high heat for months will thin that lubricant out faster than the service interval assumes. Thinned lubricant migrates, dries, and leaves the moving surfaces drier than they should be. That’s why we recommend a light re-lube on hinges and rollers as part of routine upkeep here, rather than waiting for the squeal to announce itself.
A few Vacaville-specific realities worth knowing:
- Garages facing west or with uninsulated doors get the hottest afternoon exposure and the sharpest heat swings.
- Springs on south- and west-facing doors often show fatigue earlier than the same setup on a shaded side of the house.
- Lubricant that looks “wet” in July may already be too thin to protect in August. If your door sounds different in summer than in spring, that’s why.
- Doors that sit closed all day in the heat hold more thermal load than doors used frequently – the frequent-open door actually cools its own tracks and springs.
None of this means you need to replace your springs on a schedule. It means you should listen to them. A door that hesitates, sounds louder than it did last year, or shows a visible gap in the spring coil needs a look before it fails.
What You Can Safely Adjust vs. What Needs a Technician
There’s a clear line, and knowing where it sits is the most valuable thing in this guide. Some adjustments are genuinely homeowner jobs. Others can injure you seriously, and no amount of online instruction makes them safe for an untrained hand.
Safe for a careful homeowner:
- Photo-eye alignment and cleaning. The sensors at the bottom of each track should point at each other with a clear beam. Wipe the lenses, check that neither bracket has been bumped, and confirm the small indicator light on each sensor is steady (not blinking).
- Limit screws on the opener. These control how far up and how far down the door travels. Small quarter-turn adjustments with the door in the correct position are within reach if you follow the opener’s manual.
- Force adjustment. The opener has a sensitivity setting that determines how much resistance it takes before the door reverses. Adjust it only when the door is balanced and only in the direction the manual describes.
- Manual release. Pulling the release cord disconnects the door from the opener so you can lift it by hand. Useful during a power outage or when a door needs to be opened for the car to get out.
- Battery replacement in remotes and wall controls. Simple, low-risk, and often the actual fix.
Not a homeowner job – stop here:
- Spring tension. Torsion and extension springs hold hundreds of pounds of force. Adjusting or replacing them requires specific winding bars, a precise technique, and a healthy respect for what happens when a spring lets go mid-wind. More than a few hospital visits a year come from this. We don’t recommend attempting it even with a video tutorial.
- Cable and drum work. The cables run from the bottom corners of the door to the drums on the torsion tube. They’re under tension and they’re what holds the door level. A cable that slips while you’re touching it can whip with real force.
- Track realignment. Tracks are bolted to the framing and hold the door’s path. Bending them back into place affects the door’s whole alignment, and a wrong adjustment can put uneven load on the springs.
- Replacing hinges under a loaded door. The hinges bear weight. Swapping one while the door is under spring tension is not a job for a homeowner, even though the part itself is inexpensive.
The heat in Vacaville makes the “leave it to a pro” list more important, not less. Metal under load in high heat is not always predictable, and a spring that lets go at the wrong moment does serious damage. Our technicians have up to 13 years of experience with exactly these jobs, and they treat springs and cables like what they are: the most dangerous parts on the door.
Reading Your Opener’s Blink Codes Before You Touch Anything
Every major opener brand builds some kind of diagnostic into its control board, and most of them flash a pattern when something is wrong. Reading that pattern before you pick up a screwdriver will usually narrow the problem to a single component. Here’s how to pull it.
- Locate the diagnostic LED. On most openers, it’s the small light on the back or side of the motor housing, or a light near the learn button. Some models use the main opener light itself to flash the code.
- Count the flashes. The pattern is usually a group of short flashes followed by a pause and then another group. Note both numbers. Four flashes, pause, one flash is different from four flashes, pause, four flashes.
- Match the pattern to the manual. Every opener brand documents its flash codes in the owner’s manual, usually in a troubleshooting chapter. If your manual is long gone, the code is also documented on the manufacturer’s support page. Look up your specific model number – LiftMaster, Chamberlain, Genie, Craftsman, and Raynor all publish their codes.
- Trust the code over your assumption. A four-flash code on many openers means a photo-eye problem. A different code might mean a logic board fault, a limit switch issue, or a motor circuit fault. Don’t assume “reverses” always means “sensor” – the code is the disambiguator.
- Write the code down before you call. If you do end up calling a technician, the code tells them what to bring before they leave. That saves a diagnostic round-trip.
Our own diagnostic approach runs on this knowledge. Because we work on Amarr, Wayne Dalton, LiftMaster, Chamberlain, Genie, Craftsman, Clopay, and Raynor equipment, we’ve internalized the codes and the habits of each control board family. When we arrive at a Vacaville home and hear the pattern the homeowner described over the phone, we often know which part is going on the work order before we’re through the door. If you’d rather skip the flashing lights and have someone read the code for you, garage door opener repair is a separate specialty from door repair, and we handle both.
When a “Working” Door Is Actually Failing
A working door is not necessarily a healthy door. Some of the failures we see in Vacaville were visible weeks or months before the spring broke, and every one of them carries a signature worth recognizing.
Hesitation at about four feet. If your door pauses or slows noticeably when it’s a few feet off the ground, something in the lift path is fighting more resistance than it should. The usual cause is a torsion spring that’s lost tension, which means the motor is doing work the spring is supposed to be doing. It’ll open for now, but each cycle adds strain on the spring and the opener.
Uneven cable tension. Look at the cables on each side of the door. They should look equally taut and equal in length from the drum to the bottom bracket. One side noticeably slacker or one cable visibly frayed is a warning. Don’t touch the cable itself – call it in.
Sagging top panel. A door that looks slightly bowed across the top panel is usually showing a torsion issue. It’s subtle, but it’s the kind of thing that goes from “slightly crooked” to “spring snapped” in a few weeks.
A gap in the spring coil. Torsion springs are one continuous coil. If you can see a gap – however small – that spring is on its way out. On a two-spring door, one failing spring loads its partner with the whole job, which usually means both go close together.
Rollers that look flat-spotted or walk out of the track. Steel rollers flat-spot over time. Nylon rollers wear down. Either way, a roller that’s not rolling smoothly is dragging the whole door and adding load to the opener.
A door that sounds different than it did last year. This one is real. Doors have a sound signature. When yours changes pitch, gets louder, or starts making a new noise on the way up, that’s a data point. It’s not a coincidence.
If any of those describe your door, don’t wait for it to stop working. A repair done when the spring is stressed but intact is a smaller job than one done after it snaps and takes a cable, roller, and possibly a panel with it. And in Vacaville heat, springs don’t usually get a warning second chance.
Grinding, Squeaking, and What Each Sound Tells You
Sound is the cheapest diagnostic tool you have. Here’s how we translate the common noises.
- Low grinding, especially on the way down. Worn rollers. The roller wheels have lost their round profile or the bearing has dried out. This is a parts issue, not a motor issue.
- High-pitched squeal. Dry hinges or metal-on-metal at the torsion tube. Lubrication fixes this early; left alone, it wears the metal surfaces.
- Rattling or clanking at the top of travel. Loose hardware – bolts on the hinges, or the track brackets backing out of the framing. Worth retightening before it becomes a track alignment issue.
- Popping or snapping at the top of the door. Almost always a torsion spring. Stop using the door and call for a service visit.
- Buzzing from the opener itself. Motor or capacitor problem inside the opener housing. Not a door issue. A buzzing opener with a still door is an opener repair call.
- Scraping metal on metal along the track. The door has gotten out of alignment. Don’t operate it until it’s checked.
One habit worth building in Vacaville: step into the garage while the door is running, not after. Most of these sounds don’t travel into the house. A door that’s quiet from the kitchen can be grinding loudly in the garage all day without anyone noticing.
Remote and Wall Control Problems
“Won’t respond to the remote” is the diagnostic category with the most false alarms. It’s rarely the motor. Run through this before you call in a repair.
- Try the wall control. If the wall button opens the door but the remote doesn’t, the opener and the door are fine. The problem is the remote or its signal path.
- Try a second remote. If one remote works and another doesn’t, the fix is in the dead remote – usually the battery.
- Replace the battery. Most remotes use a coin-cell battery. It’s the single most common cause of “dead remote” calls.
- Re-pair the remote. If a battery change doesn’t fix it, the remote may have lost its pairing with the opener. Every major brand has a learn button procedure documented in the manual, and most take under a minute.
- Check for interference. LED bulbs in the opener light socket, a nearby wireless device, or a bad neighbor situation can all interrupt the radio frequency. Try the remote from a few feet closer to confirm.
- Test the wall control itself. If the wall button doesn’t work either and the remote does, the wall control or its wiring is the fault.
If none of those steps brings the door back, the problem is inside the opener – logic board, receiver, or wiring – and that’s when a technician makes sense. Our technicians are trained across LiftMaster, Chamberlain, Genie, Craftsman, Raynor, Amarr, Wayne Dalton, and Clopay equipment, so we’re never guessing at the control board architecture. One call covers both the door and the opener.
Repair or Replace? How to Decide
This is the question we get most often, and it’s the one where a specialist can give you a real answer instead of a nudge toward whichever service pays better. There’s no universal age threshold. What matters is where the door is in its lifecycle relative to everything else you’d be paying for.
Repair usually makes sense when:
- The door itself is structurally sound – panels intact, no significant rust, no sagging frame.
- You’re looking at a single failed component: one spring, one roller set, one opener board.
- The door is recent enough that its hardware is still available off-the-shelf.
- You’re not already repairing something else within a few months.
Replacement starts to make sense when:
- You’re looking at springs, cables, and rollers all at once – at that point the accumulated repair bill approaches a meaningful share of new-door cost.
- The door is showing structural fatigue: panel seams separating, bottom section rusted through, or a frame that’s no longer square.
- You want an insulated door and the current one is uninsulated, which matters more in a hot inland climate than most homeowners realize.
- The opener is older and starting to fault, and the door is on its last legs too. Replacing both together usually makes more financial sense than repairing each on its own.
Our approach is to walk through this list with you at the time of the estimate, not to push a replacement. Because we do full installation alongside repair – and it’s a distinct service, not a parts-swap specialty – we have no reason to lean toward one or the other. If a repair is the right call, we’ll tell you. If it isn’t, we’ll tell you that too. For homeowners in Vacaville, that honest read on repair vs. replace often matters more than the price of either.
Common Mistakes to Avoid
- Replacing the safety sensors before testing them. The most common unnecessary part replacement we see. Clean the lenses and check the indicator lights first – the sensor is dead only if it’s clean, aimed, and still not responding.
- Turning up the opener’s force setting to compensate for a hard-lifting door. That masks the real problem (usually a tired spring) and puts more load on the motor, the door, and the tracks. If the door needs more force to lift, the spring is the conversation.
- Spraying WD-40 on the tracks. Tracks are supposed to be dry. Grease or oil on the tracks attracts dust and makes the rollers slip. Lubricant belongs on hinges, rollers, and the torsion tube – never on the tracks themselves.
- Adjusting torsion springs without the right winding bars. A spring under tension can let go with enough force to break bones. This is the one job on a garage door that we won’t describe how to do, because we’ve seen the outcomes.
- Ignoring a change in sound. Vacaville heat tends to make springs fail with a warning – a new noise, a hesitation, a visible gap in the coil. Waiting for the failure instead of acting on the warning almost always costs more.
- Pulling the manual release in a panic when the door won’t open. If the door is stuck and the springs are compromised, releasing the trolley can drop the door fast. Call for a technician to open it safely.
- Assuming all openers are the same when buying a replacement remote. Openers aren’t cross-compatible, and a “universal” remote often isn’t. Match the model number on your opener before you buy anything.
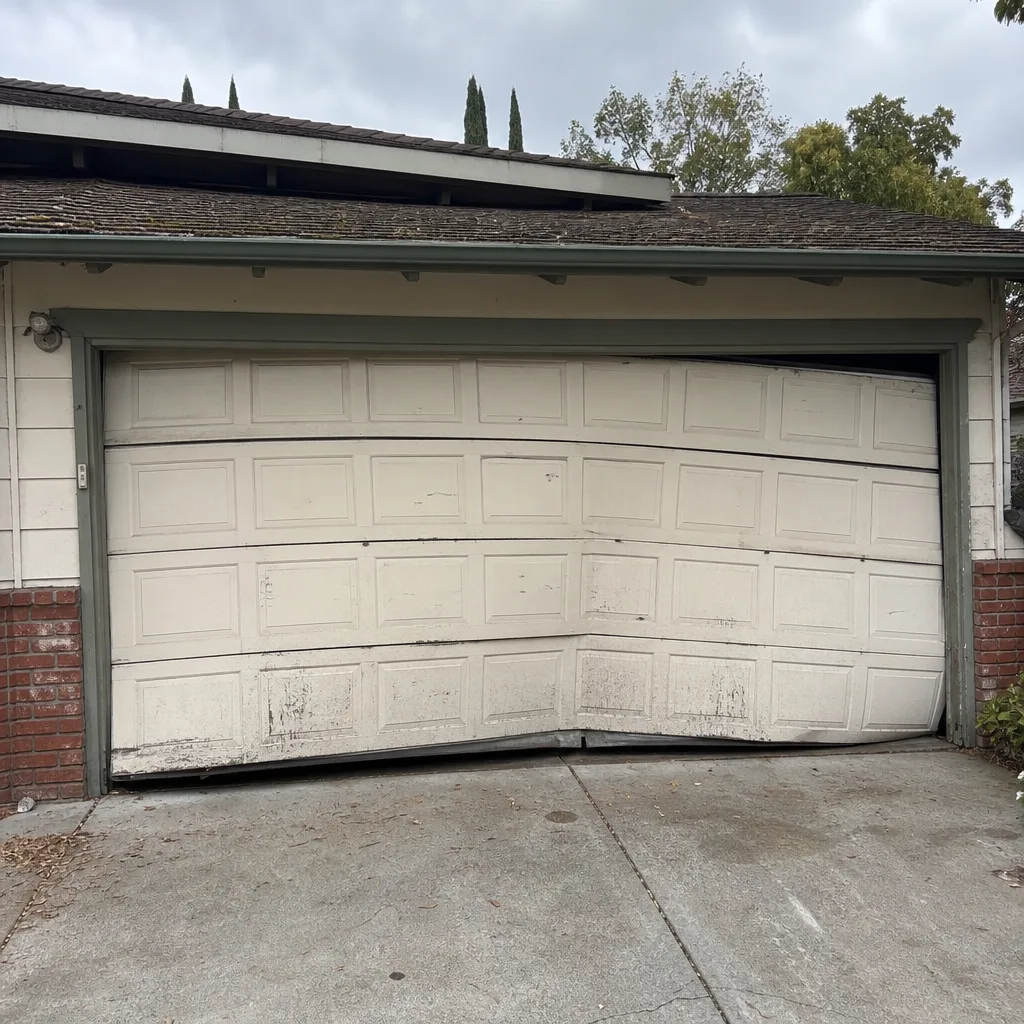
See the difference
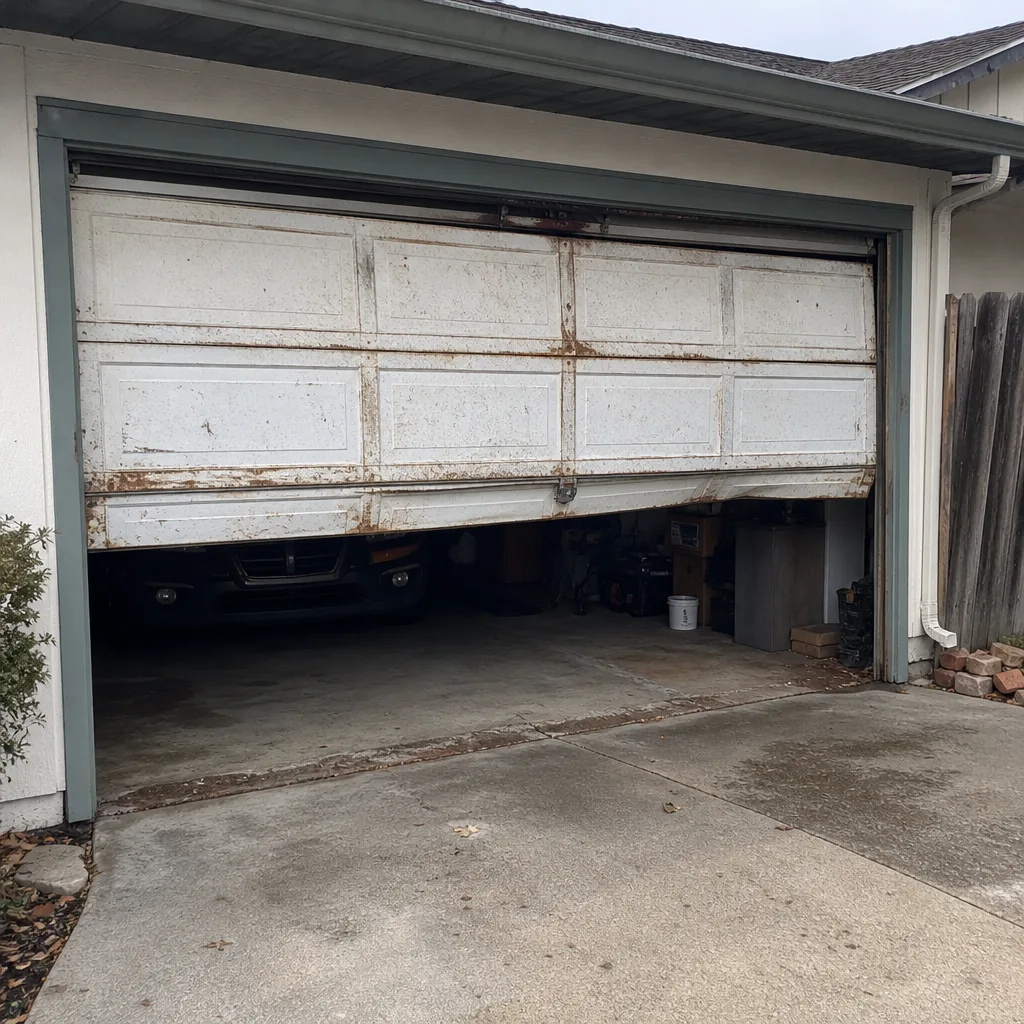 Before
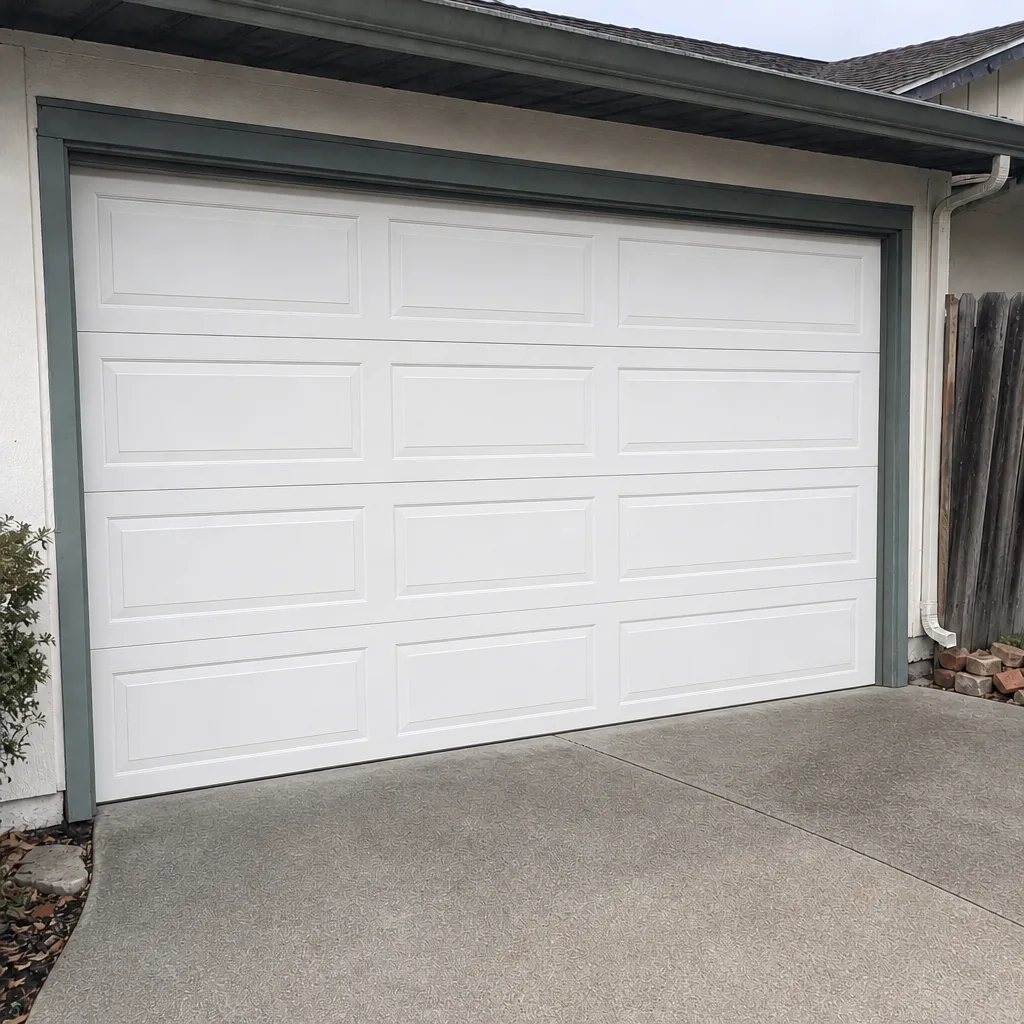 After
 Before
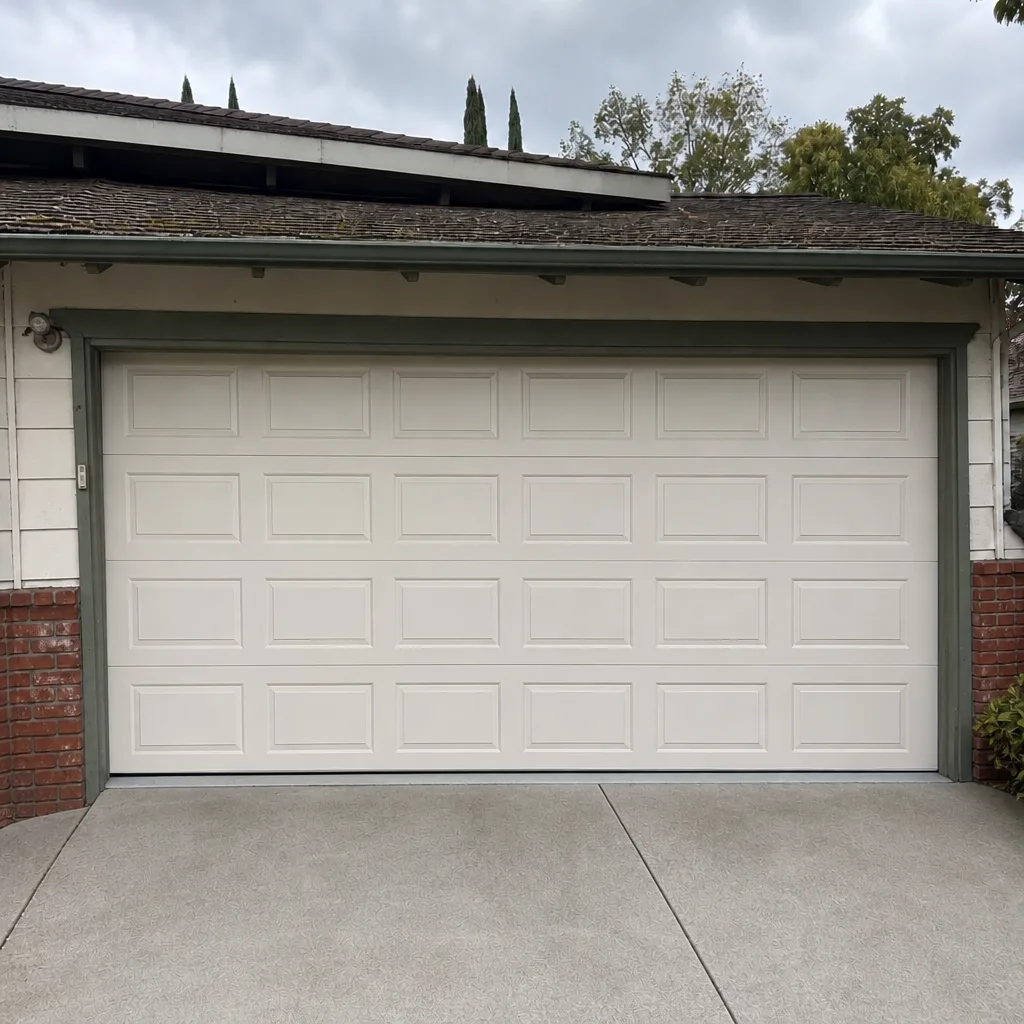 After
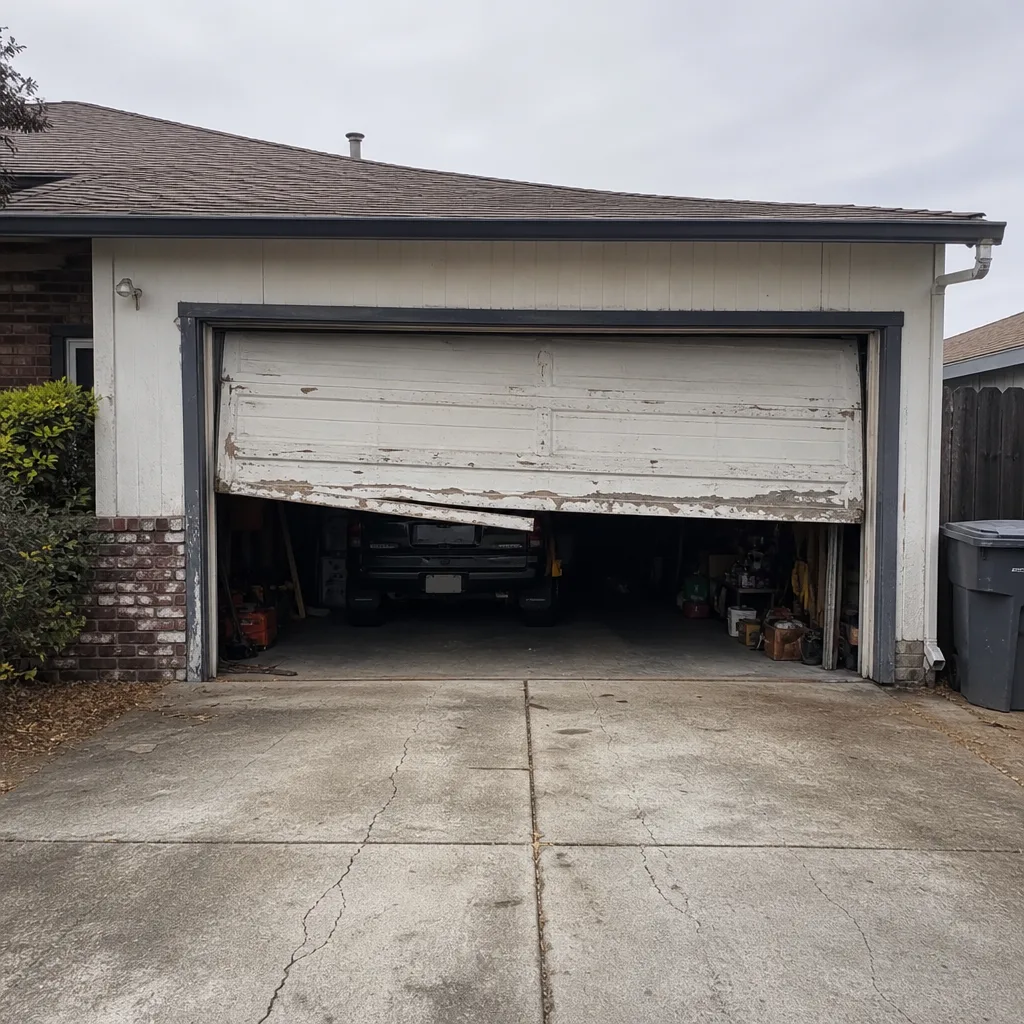 Before
 After
When to Call a Professional
Call a professional the moment the problem involves anything under tension. That means springs, cables, and the torsion tube – no exceptions. If your door hesitates, sags, opens crooked, makes a popping sound, or shows a visible gap in the spring coil, stop using it and have it looked at. A spring that snaps while someone is standing under the door is a bad situation, and the repair that would have prevented it is a modest one.
Also call when the diagnosis itself is unclear. If you’ve checked the sensor, replaced the remote battery, and tested the wall control and something is still wrong, the remaining possibilities are inside the opener or the door’s alignment. Both need real diagnostic tools.
Calloway Garage Door Repair offers free estimates in Vacaville. Call (855) 922-3585. We answer 24/7. Fast dispatch from 7am to 7pm, Sunday through Friday. Garage doors are all we do, and our technicians have up to 13 years of experience reading exactly the kind of symptom you’re looking at right now.
Frequently Asked Questions
In most cases it’s the photo-eye safety sensor system, not the opener or the spring. The two sensors at the bottom of the tracks need a clear line of sight, and dust, spiderwebs, a leaf, or a sensor knocked slightly out of aim will break that beam and send the door back up. Clean the lenses, check that the indicator light on each sensor is steady, and confirm the sensors are aimed at each other. If that doesn’t fix it, the problem is more likely in the wiring or the logic board, which needs a technician. If your door is doing this now, call (855) 922-3585 for an exact quote – estimates are free.
Spring replacement in the Vacaville market typically runs a modest mid-three-figure cost per spring, with a matched pair usually replaced together at roughly twice the single-spring figure. The written estimate we give you before any work starts is the final price. Torsion springs, extension springs, and the exact swing of the job all affect the number, and we set it after we’ve looked at the door. Call (855) 922-3585 for an exact quote – estimates are free.
Yes, for repair calls. We answer 24/7 and run fast dispatch from 7am to 7pm, Sunday through Friday. If you call outside dispatch hours, we book you into the next opening. A call outside dispatch hours is booked into the next opening, Sunday through Friday, 7am to 7pm. Installation and new-door work is measured and scheduled, so those jobs go on the calendar after a free measure. Call (855) 922-3585 for an exact quote – estimates are free.
No. The written estimate sets the price, and we don’t change it after the work begins. If we find something during the job that genuinely changes what needs doing, we stop and talk to you before we do anything else. You’re never billed for something you didn’t agree to. Call (855) 922-3585 for an exact quote – estimates are free.
Yes. Our technicians are licensed and insured, and they have up to 13 years of experience working on LiftMaster, Chamberlain, Genie, Craftsman, Raynor, Amarr, Wayne Dalton, and Clopay equipment. Every job starts with a diagnosis and a written estimate. Call (855) 922-3585 for an exact quote – estimates are free.
Try lifting the door by hand with the manual release pulled. If it feels very heavy or won’t stay partway up, the spring is the problem. If the door lifts and balances easily but the opener won’t move it, the opener is the problem. Either way, don’t force the door up over a suspected spring failure – that’s a call for a technician. Call (855) 922-3585 for an exact quote – estimates are free.
Because the heat accelerates fatigue on a part that’s already under constant load. Vacaville gets hot enough that the garage heats and cools every day, and each cycle expands and contracts the spring metal slightly. The metal fatigue that would normally take years to build up gets a small extra push from the daily swing – which is why springs here often fail at the coil during a temperature shift rather than at the end. If your door sounds different in summer than it does in spring, that’s a real data point. Call (855) 922-3585 for an exact quote – estimates are free.
The Bottom Line
Symptom-first diagnosis is the whole game. A reversing door, a silent door, a crooked door, and a noisy door each have a small set of likely causes, and knowing which one you’re dealing with before you touch anything is what keeps a repair from turning into a replacement. Vacaville’s heat adds a bit of extra wear to springs and lubricant, and it makes springs fail with a warning more often than not – so pay attention to hesitation, new sounds, and gaps in the coil. Leave springs, cables, and track realignment to a trained technician. Handle the safe adjustments yourself and you’ll spend less, wait less, and keep your door working the way it should.
If you want a second opinion on what’s wrong with your door, or you’re ready to fix it, Calloway Garage Door Repair is here to help. Call (855) 922-3585 for a free estimate. We answer 24/7. Fast dispatch from 7am to 7pm, Sunday through Friday. One call covers the door and the opener, and we’ll tell you honestly whether a repair makes sense or replacement is the better long-term call.
Written by the team at Calloway Garage Door Repair.